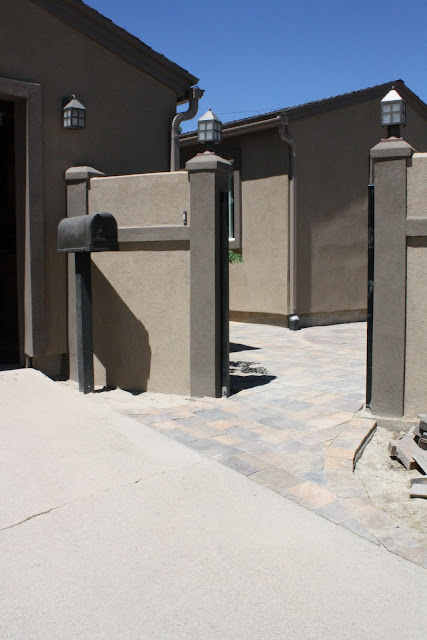
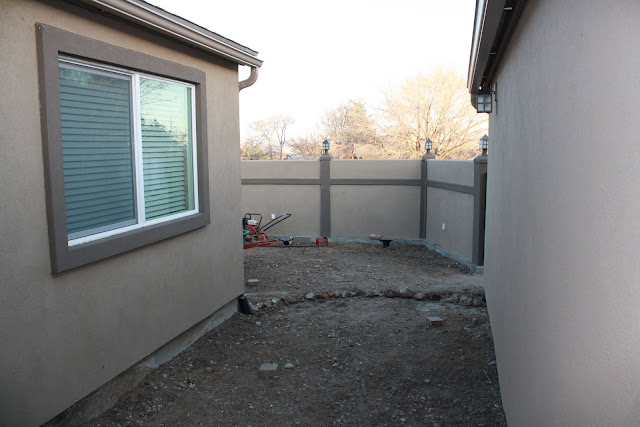
Our house has a large front yard and a smaller backyard. To even things out, Bridget and I decided to build a courtyard when we were remodeling. With Ron’s help, we got a concrete footer in place, put up some walls, and then had the walls stuccoed, but over the past two years, we never got to the pavers.
Then January 2010 hit. With a little motivation and a lot of direction, I decided it was time to finish this project. I wanted to be able to enjoy our courtyard in the spring, so I decided to break ground in January. I had a friend who worked in the landscaping biz, so she helped with the “how to”.
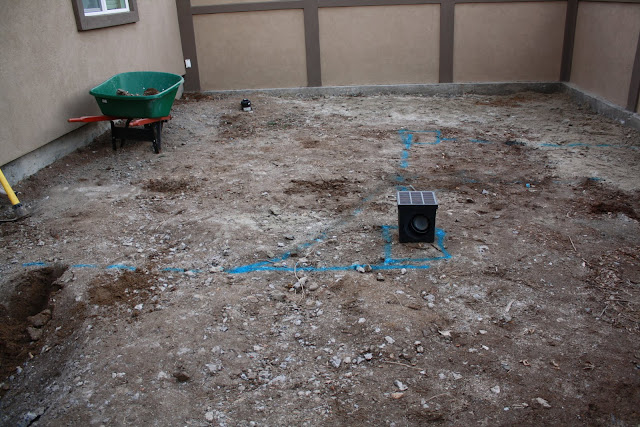
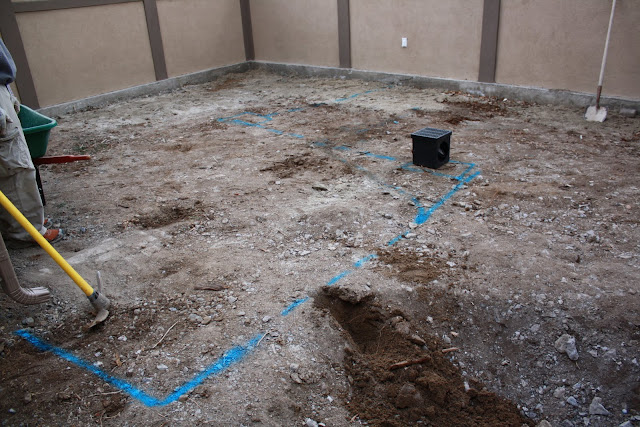
Drainage
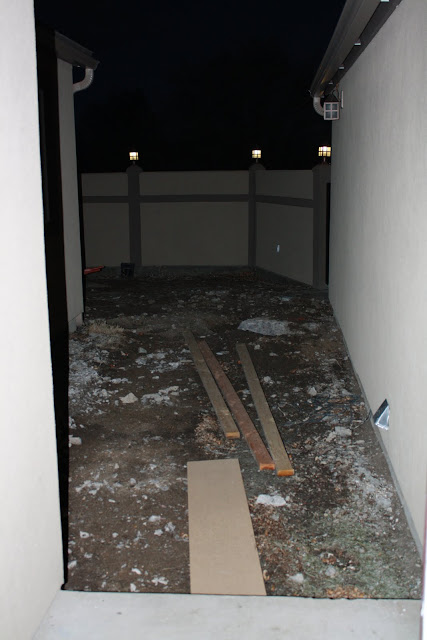
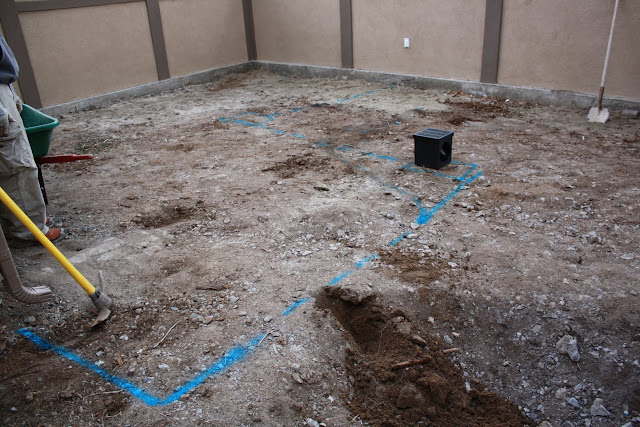
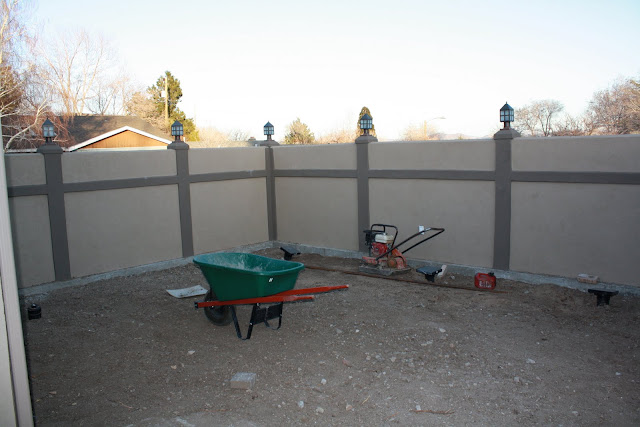
This part is where I really needed help. I needed a way to drain all the excess water falling from the roof and the courtyard to the outside. Sounds pretty easy, but you have to think of where the gutters are draining, how many drains you may need, what types of drains (we went through a few ideas), and of course the grade of the courtyard. Even with some direction, I still started to dig a ditch, and then after two weeks of digging, had to re-route the ditch another way since it seemed to work better. I’m glad I started the digging in the winter though. The storms that passed through made the ground a bit softer to work with (rather than digging through the dry, summer rock).
Concrete block
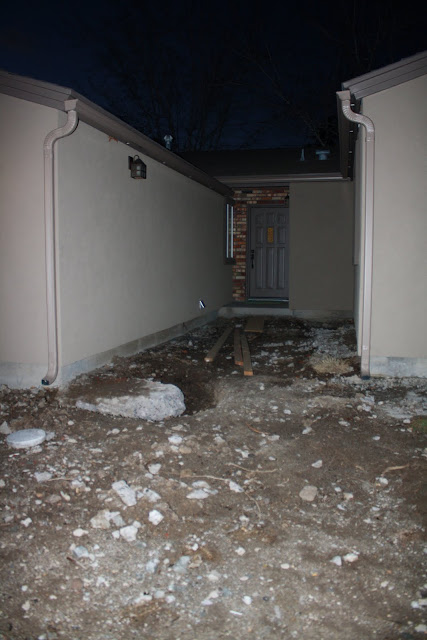
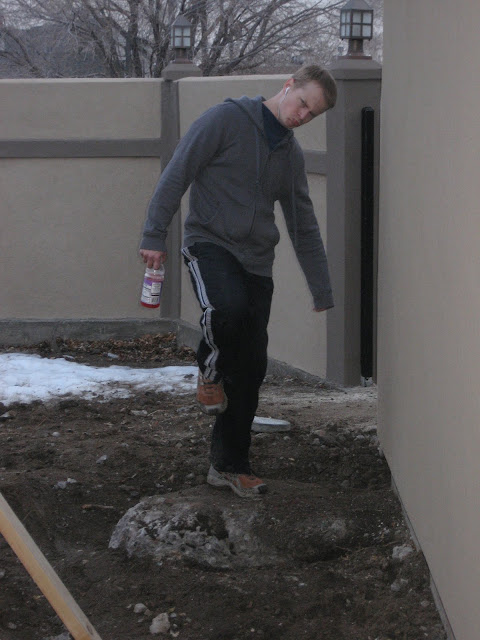
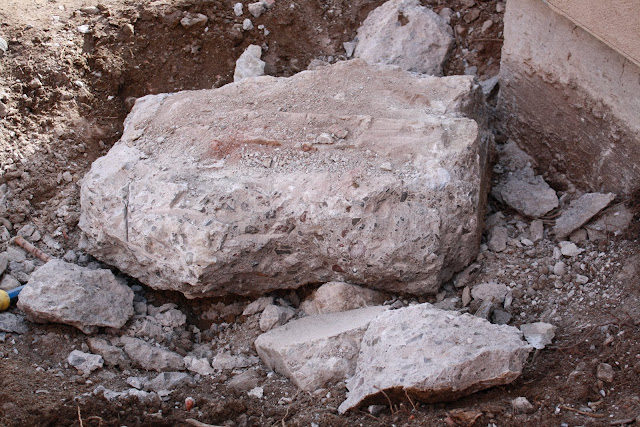
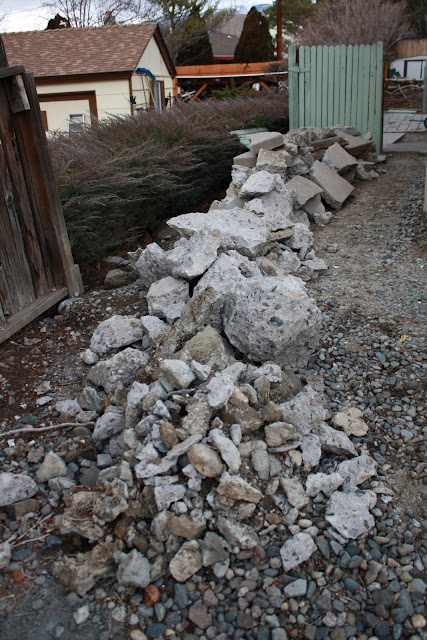
One of our gutters was under an old concrete footer where a small brick wall used to stand. I had the wonderful challenge of trying to break this piece up. I also had to breakup the entire sidewalk leading up to the door, which wasn’t that big of a deal, but this concrete piece that was buried under ground was quite the challenge. This concrete not only broke my spirit, but also broke a wheelbarrow and a sledgehammer. I chipped away at it, day-by-day, hiding our pieces in the garbage can until one day, the final piece was broken in half and pulled from the ground. Victory is mine!
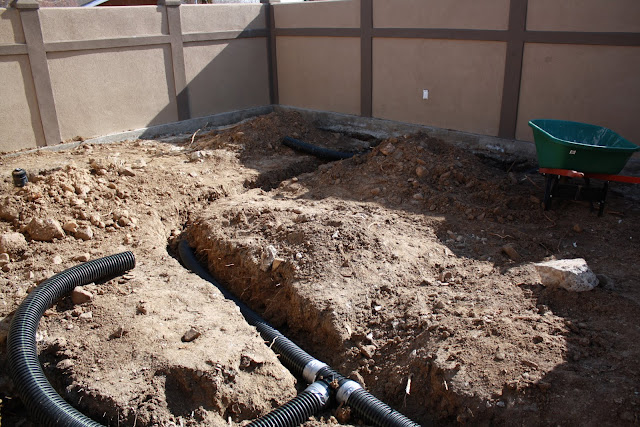
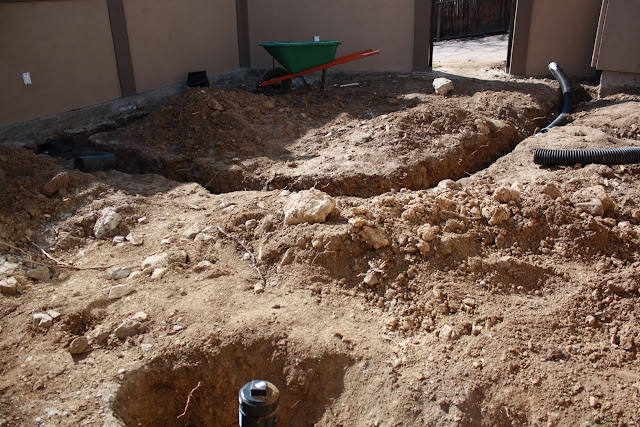
Sewer Pipe
While I was getting the drainage ditch moving, I was concerned about our sewer pipe. The summer beforehand I had gone underneath the house and found the water near our piping was damp. Well… I had wanted to put in a hose bib near the corner of the courtyard, so I called our plumber to see if perhaps he didn’t seal everything when we did our remodel.
Bad news! The sewer pipe to our blowout valve had eroded and needed to be replaced. To help save some money, I had to dig the entire pipe out, and he was right. The cast iron had eroded and needed to be replaced. One of my “favorite” memories was digging around the pipe while it was snowing outside. I had a shovel in one hand and a flashlight in the other… I needed to get the digging finished for our plumber, and I didn’t want to puncture the eroded pipe any worse than it was.
This put a bit of a delay on the project, but I’m glad we did it now rather then next year and have to pull up all the pavers we put down.
Pavers
We went to a business’s “boneyard” and looked to see what pavers they had available. These were the pavers they had left over from past jobs, so we would be able to get a little bit of a discount. But, that also limited some of our options. We came up with two colored palettes that may do the job, but I could see Bridget’s eyebrow start sweating with worry when the pavers finally arrived. She didn’t know how these colors were going to coexist.
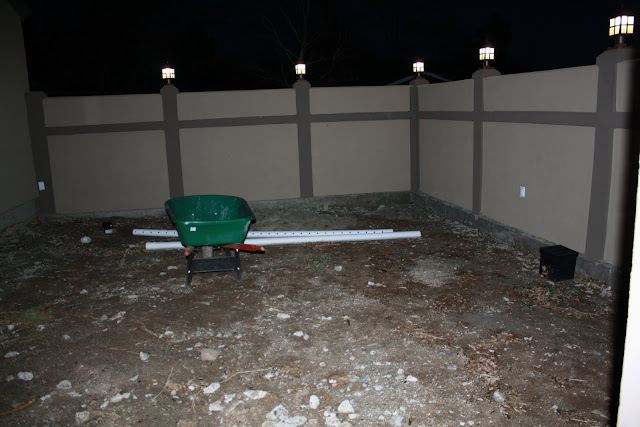
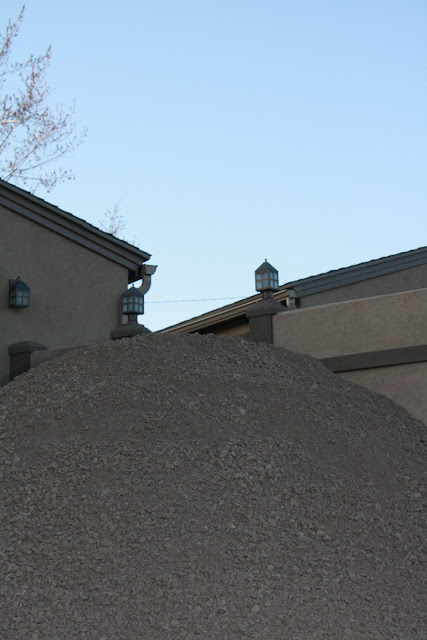
Base and Sand
And so it began. We decided to build a small step to separate the two different colors from one another. And so we had two of our friend’s workers come out and compact and grade our base. This would have been a tough job, but seeing how they did it, definitely helped. We placed some regular 3/4″ PVC pipe down and then poured beach sand over the top. Bridget even recruited a few different people to help for the paver setting party (Her parents, Rob, and even a person from her work). We leveled everything out and then began placing pavers on top. We had a random pattern, so we moved the pavers together similar to playing Tetris. Unfortunately, we soon ran out of our boneyard pavers.
Round II
Now we had to buy pavers at regular price from two different companies. (Each company sold the different types of pavers.) We continued to finish the pavers until we got more bad news. According to our friend, there seemed to be a miscommunication on the step. Now, the step was only about 2 to 3″ tall, which is more of a tripping hazard, rather than a real step. We then made the executive decision to remove the step entirely, which meant redoing a lot of the work we already put down. Damn it!
And finally…
The last part of the project was filling the cracks with polymeric sand. This type of sand holds similar to light glue and locks the pavers together. It’s not cheap, either. It had been awhile since we were able to do this, and a few pieces of grass began to grow in between the cracks of the pavers. I pulled these out, and Bridget and I poured the sand.
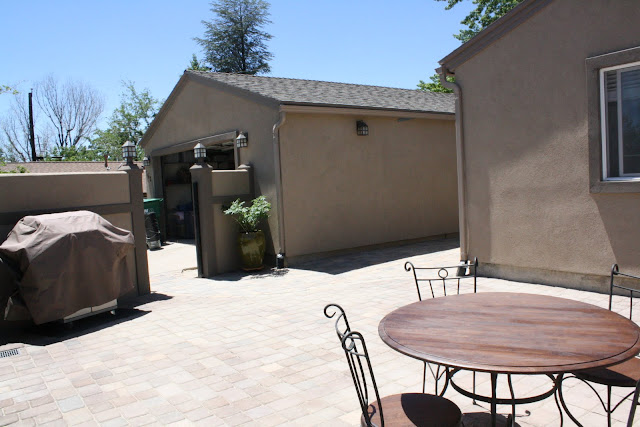
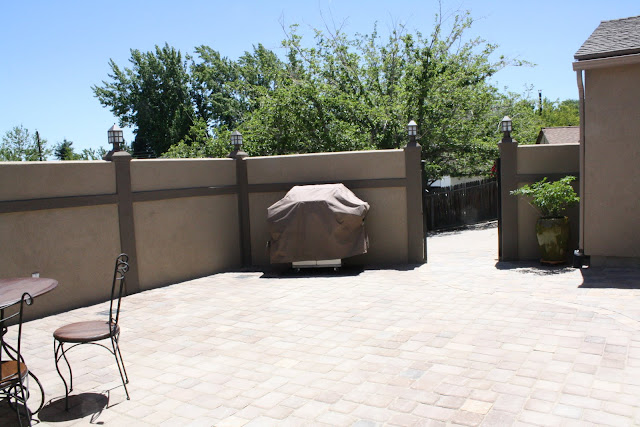
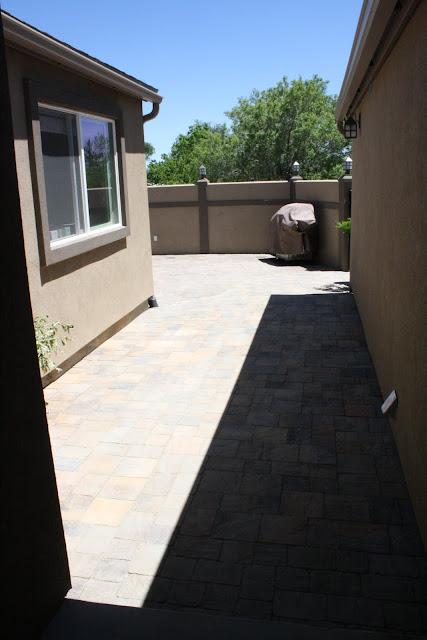
After watering everything down, everything seems to be in order. In fact, all the hard work seems to have finally paid off. This has been one of the longer, more complicated projects I’ve done, but it’s well worth it.We were delayed by a few things, and I only missed spring by a few days. But late is better than never, right?
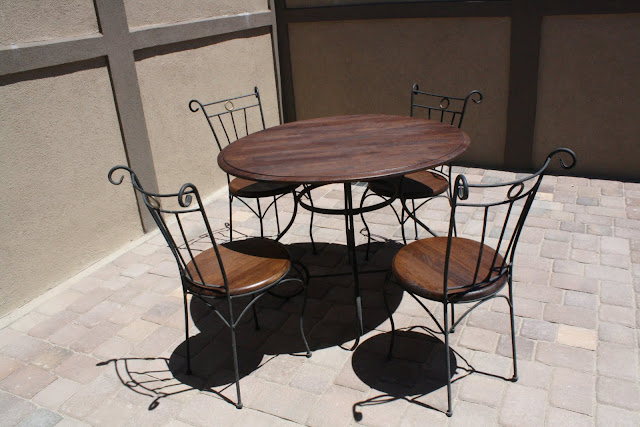
Today, we moved our barbecue, two potted plants, and a table there today. Bridget and I sanded the table and stained it, which seems to go well with the courtyard. (Thanks Rob and Shayna!) Now all we need is a glass of lemonade, a book, and some time to relax, and it will be complete.
The Build

The Product